Every fall, there is one essential item everyone needs: a backpack.
They are large enough to fit all of your life’s belongings hands free and stay snug on your back. Like a pair of shoes, backpacks say a lot about one’s personality. They are a staple accessory that sticks by your side throughout the season and even school year.
Whether you opt for a brand new designer bag or find a fitting vintage rucksack, it should show off the one and only you. So why not have some fun with it?
After browsing online looking for my dream bag I realized everything I took a liking to was out of my budget, so I decided to get thrifty and design my own. After finding the perfect plain black messenger bag that was calling for some character, I took a trip to SAS where I found fitting fabric and studs to start the process.
The process may inspire some of you to start creating a look of your own. Whether floral, tie dye, plaid or rugged, there’s material around for you. And if you don’t feel like making the trip to the fabric store you can even use one of your old t-shirts, pillow cases, or even jeans. Let’s get creative, designers.
Materials: Plain bag, fabric, hot glue gun/fabric glue, scissors, sharpie, studs, any other materials that are calling out to you.
Step one: Find the perfectly “plain” bag.
 Step one. Photo by Gabrielle Nelson.
Step two: Gather and organize materials.
 Step two. Photo by Gabrielle Nelson.
Step three: Start laying out studs into a pattern. Don’t be afraid to mess around and experiment with different designs.
 Step three. Photo by Gabrielle Nelson.
Step four: Once studs are in place, start pushing them into the bag. Use the loop in the scissors to push down the edges of the studs so they stay in place.
 Step four. Photo by Gabrielle Nelson.
Step five: Cut the fabric into a shape that will fit over the bag.
 Step five. Photo by Gabrielle Nelson.
Step six: Start drawing with the sharpie different shapes you would like to put onto your new bag. Cut out these shapes and lay them out .
 Step six. Photo by Gabrielle Nelson.
Step seven: Glue the shapes and patterns down using hot glue or fabric glue. Make sure to smoothe the fabric out and hold until glue is dry.
 Step seven. Photo by Gabrielle Nelson.
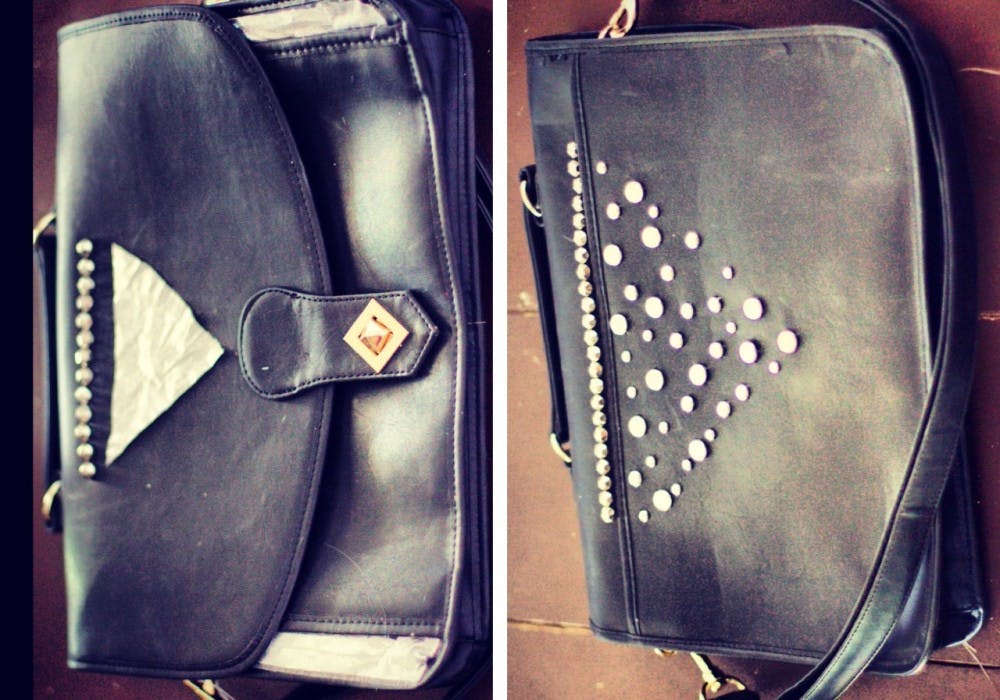
Step eight: Enjoy your new backpack!
 Step eight: the final product. Photo by Gabrielle Nelson.
Want to learn more DIY projects? You can contact me at Gabrielle.M.Nelson@asu.edu.