I made a pinhole camera once in third grade and thought it was the coolest thing in the entire world. I hadn’t even thought about making another one until recently when I became interested in photography. There’s something to be said about not only taking your own pictures and developing them, but also actually making the camera that allowed you to do those things in the first place—too awesome in my opinion. Anyway, contrary to what may be popular belief, pinhole cameras are not hard to make at all (I mean if a third grader can do it, you should be able to, as well, right?).

I’ve seen pinhole cameras made out of a few different types of object, but I recommend using the Quaker Oats container. Cut a small box in the container about 3 ½ inches from each side of the box so it’s basically in the center. This box should probably about an inch in length and width. This box is going to be your pinhole “window.” Next, make sure box is entirely clean. You are then going to spray the entire thing with black spray paint. This includes the inside. Once completely sprayed, allow for it to dry.
For the next step, you are going to need an aluminum can (a Coke can of some kind). Cut a square piece out slightly larger than the box in your Quaker Oats container. Use a pin to create your hole in the center of the aluminum. This part is very important- you only want to create small hole and you don’t need the pin to go all the through to do this. Glue the aluminum piece for the pinhole inside the container. (Make sure you put the glue in first!)
Now it’s time to make your shutter. Use something heavier than paper but lighter than cardboard, like a file folder and cut two strips that are 1 inch x 7 inches. Cut two-inch pieces of black, electrical tape to place on the file folder strips, but make sure there is about an inch or so of the tape hanging off the side. This entire piece is going to be the shutter guides. To make the shutter, a 1 ½ inches x 2 inch piece from the file folder, and make a cut that is ¾ inch by 5 inches from a piece of cardboard. Using the cardboard, fold the strip in half so as to make a sort of handle with two legs hanging off the side. This will be your shutter handle. Wrap the entire thing in black tape. Glue this shutter handle to your piece of file folder your cut before to create your shutter. Tape your shutter slide to your container, leaving space for your shutter to move freely. And now you have a shutter!
And with that, you have a lovely pinhole camera to take pictures with! Your next step should be to create your own dark room and get ready to make some awesome photos!
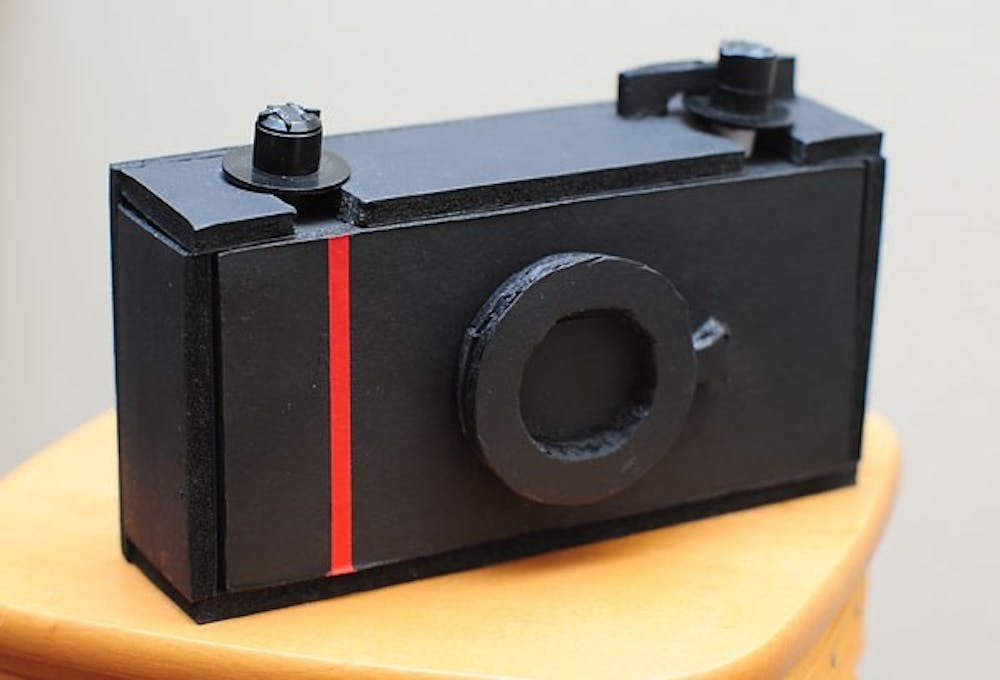
This tutorial was one of the easiest one I’ve seen. If you prefer, you don’t even need to necessarily spray your entire container black, and you definitely don’t need the shutter slides- I just think it makes for a nice effect for the camera. I think to make a more aesthetically pleasing looking camera you’re going to need to put way more time and effort into your camera. I’ve seen some pinhole cameras that actually look like real film cameras!
If you have any further questions or any comments, please feel free to contact me, as always, at fbreisbl@asu.edu.


