Yep, it’s that time again, and it’s the last time of the semester. Crafting time, woop woop!
I’ve recently realized how often I use greeting cards, and I have quite a few thank you cards to send out in the coming weeks.
Receiving cards is always an exciting experience. There’s something so personal about snail mail, am I right? Especially for those of us so commonly accustomed to e-communications. But you know what’s even more exciting and personal? A handmade card! So this week, that’s what I’ll be showing you how to make.
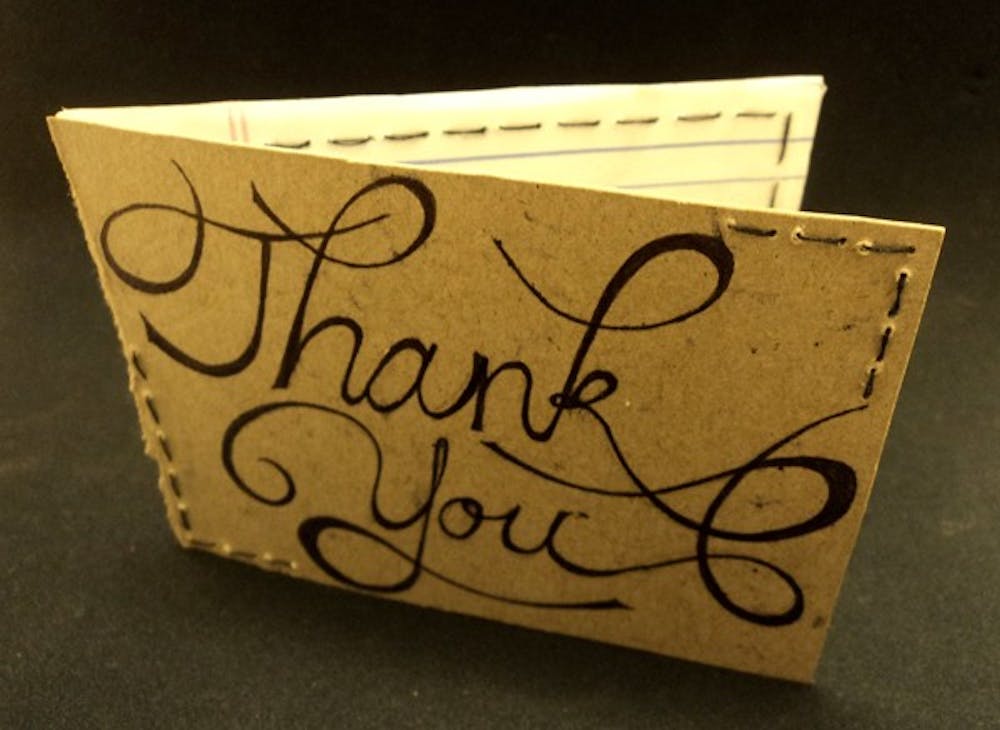
This is one of my favorite projects because it permits so much creativity, and can be made with what some people (a.k.a. non-crafters) would consider trash. For example, the thank you card I made today was created from an old cardstock envelope, lined paper and thread.
And here’s how:
Step 1.
Take the cardstock and if it isn’t already rectangular, cut it that way. Then, you want to find the middle point before you fold, then fold the cardstock in half. My cardstock was a little thicker so I had to perforate the fold with scissors.
Step 2.
I have a serious problem when it comes to writing straight without lines, so I added lined paper to the inside. I think this also adds a pretty cute touch to the handmade card, plus something needs to be added to the inside since writing on cardstock isn’t very neat. To add the paper you just glue the section you want to the inside of the card and cut off any extra around the edges.
 Glue your writing surface of choice onto the inside of the card after folding your cardstock in half.
Step 3.
Prepare to stitch the edges by poking the holes ahead of time. Then stitch your way around the card.
 Lay out your stitching path by poking the holes ahead of time.
 Stitch the edges of your card with your thread color of choice.
Step 4.
Test out a few font designs on a separate piece of paper and when you find one you like, copy it onto the front of your card in pencil. When you’re happy with it, seal the deal with pen or sharpie.
 Find the words and style you’d like and copy them onto the front of your card.
Step 5.
Add any other flare you feel appropriate. I added more stitching to the corners of the front to frame the letters a little better. I like just black but add color anywhere you’d like!
 Add stitching to the front of your card where you’d like.
After that, you’re done. Easy-peasy, lemon squeezy, right? Now you have a cool handmade card to give to your friends, and it’s even more heartfelt because you put so much hard work into it!
 Write your message on the inside and send the card out!
If you’d like to reach me with comments, concerns or suggestions you can email me at anconrad13@gmail.com or tweet me @alliectersely


