You don't have to be an engineer or artist to carve a jagged face into a glowing gourd, but having a game plan and the necessary materials adds ease and safety to the process.
If you are a college student wanting to reminisce about your sticky-fingered pumpkin carving youth or just trying to get crafty with some fall decor, follow this no-frills guide to make sure your pumpkin leaves you feeling fun and festive without a trip to Tempe St. Lukes Emergency Center.
1. Pick the right pumpkin
A bad pumpkin will be hard to cut and mold fast. A solid pumpkin-carving pumpkin will feel sturdy, but emit a hollow sound when you give it a good tap. Flip the pumpkin upside down and apply pressure with your thumbs, if it can't withstand a solid blow this isn't the right pumpkin for your purposes.
Another sign to check if your pumpkin is in fit condition to be punctured is its coloring. The pumpkin should have consistent coloring and be free of dark spots, scratches or bruising.
Lastly, make sure your pumpkin can stand on its own. You want to make sure your pumpkin can proudly sport its fresh face when you are done giving it the knife treatment. A wobbly pumpkin will also increase your chances of injuring yourself or others.
Treat your pumpkin with care and hold it by the bottom — not by the stem.
2. Prepare your workspace
A sound workspace will promote safety, positivity and cleanliness for your pumpkin-carving endeavor.
First, gather your materials:
- Something to protect your workspace. You can use a plastic bag, sheets of newspaper or even old essays.
- Knives. Unless you have learned to be a true adult in college, you probably don't have an assortment of knives at your disposal. As a general rule of thumb, serrated vegetable knives work best. Size matters — the smaller the knife, the more precise you can be with the design.
- Ditch the cheap pumpkin-carving tool kit scoopers and use a 99 cent soup ladle from the dollar store to scoop out your pumpkin's interior. This material is both cost efficient and effective.
- Unless you truly want to go rogue, using a marker or Sharpie to draw out your design is essential.
- Small tea-light or votive candles for the finishing touch. If you will be keeping your final pumpkin in a dorm room or apartment building, opting for flameless candles will keep you out of trouble.
Clean off your workspace and make sure you have enough space between you and any other fellow artists, so the fun craft doesn't turn bloody with one sudden gesture.
Keep a trashcan close because you will want to have a way to clean as you create.
3. Have a game plan
When in doubt, draw it out. Skim through Google Images or Pinterest to spark your creativity or sketch your own original idea onto the pumpkin. Having an idea of where to cut before you bust out the knives will set you up for a cleaner cut.
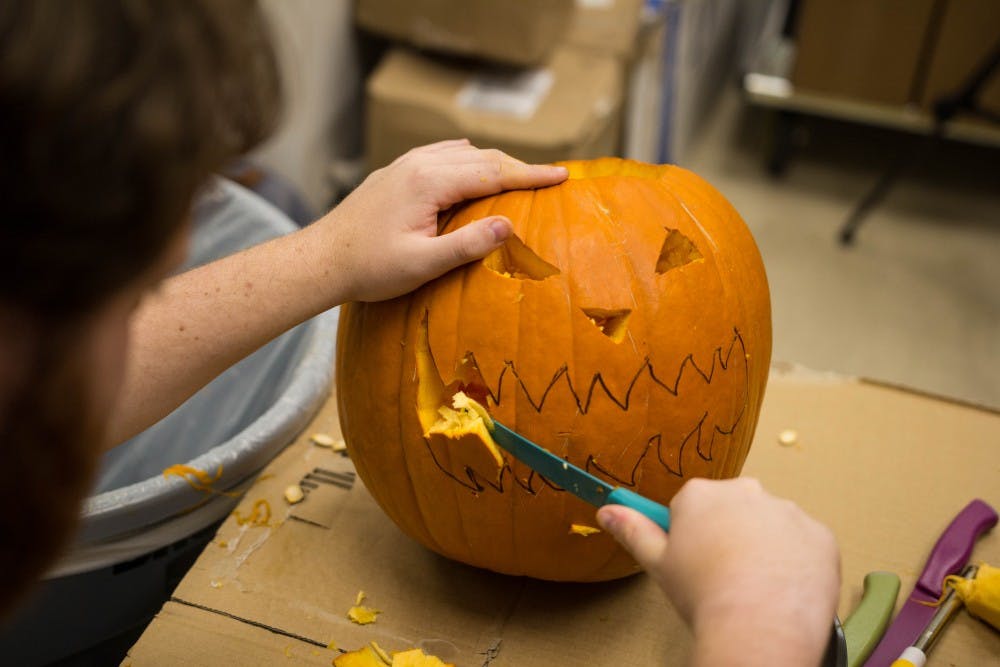
4. Gut the gourd
Before you can gut the gourd you have to drop the top. Draw a circle with a 5-inch radius around the stem of the pumpkin and cut it out from a diagonal angle, so when you put the top back in place, it doesn't fall through.
Once you have removed the stem, take your dollar store soup ladle and scoop out all of the seeds.
If you want to truly channel your inner Martha Stewart, set the seeds aside to roast later for a fun fall snack.
5. Bring your pumpkin to life
Make incisions where you marked for your design and push out the remaining pieces. While angular cuts for the lid of the pumpkin are key, straight cuts for the design make the pieces easier to remove.
Once the pieces are removed, use the knife to scrape out the remaining stringy pieces.
6. Clean-up
Remove the pumpkin and its lid from the workspace and clean up the pumpkin bits left behind. Take a wet paper towel to wipe off the outside of the pumpkin, so no sticky residue is left behind.
7. Get lit
Place the candle inside the pumpkin and light (or flip the switch) once it has a sturdy position inside the pumpkin.
If you are struggling to light the candle from the top, try putting the lighter through the mouth to light the candle.
Once the candle is lit, place the lid back on the pumpkin, and your creation is complete.
All said, we took a stab at pumpkin-carving in our State Press newsroom and broke all the rules but still have some sick creations to show for it. If you keep an open mind and let your creative juices flow, there is no going wrong.
Reach the reporter at goldham@asu.edu and follow @graceoldham123 on Twitter.
Like The State Press on Facebook and follow @statepress on Twitter.


