The hipster within me just loves oxford shoes. I bought my first pair the other day and decided it was the perfect opportunity to begin a new DIY project. I bought a black pair and my first instinct was to spray paint them gray or silver and go from there, but while searching at Michaels, I found a great glitter spray paint that I thought would make a good touch. My other plan was to buy studs (like those for a Bedazzler) and use them to make a shiny pair of studded oxfords.

Now, this entire project would have probably been much easier if I actually had a Bedazzler, but I don’t and have no desire to actually buy one. If you have one, I’d recommend using that to stud your shoes. If you’re like me and are lazy and cheap, just get a good pair of craft pliers. This worked pretty well for me.
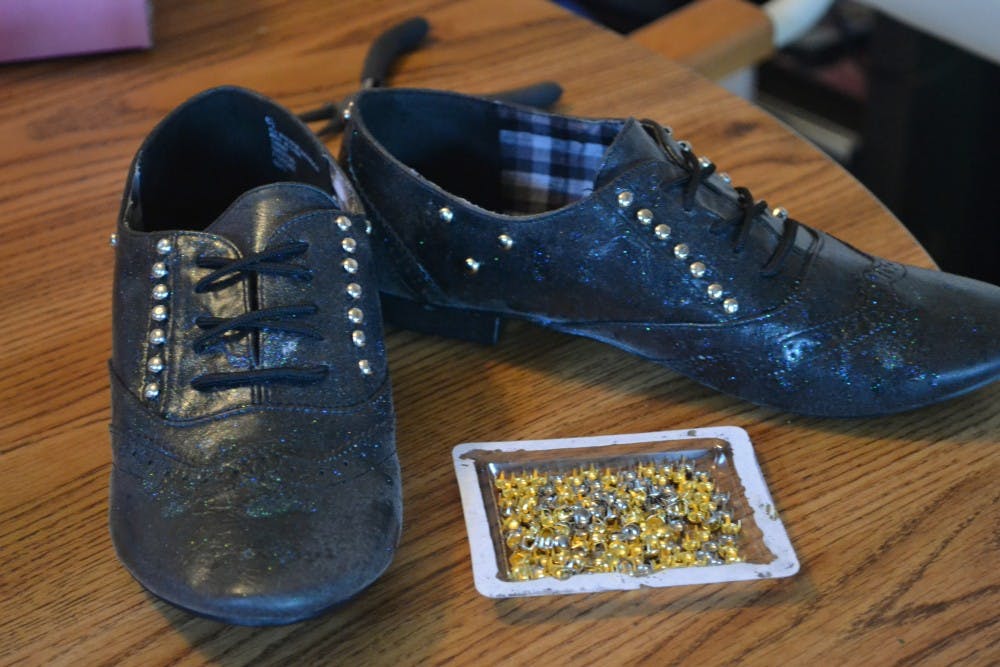
So, the first thing you’re going to want to do is unlace your shoes. There’s no need in getting paint on the laces and messing them up. Use your spray paint and spray the shoes. Let it dry. You may want to apply a few coats for a greater shine and also because sometimes the paint is spread of thick in some areas and too thin in others.
Once your shoes are dry (definitely wait at least an hour after your last spray), it’s time to start studding! I chose to use silver studs to keep with the silver sparkle theme, but there are also gold and multicolored studs, so take your pick. I chose to only stud part of the back, two sides in the front, and three studs on each side, but obviously you can pick whatever pattern you want. As this was my first time studding, I just wanted to play it safe. Place your stud on the place that you desire on your shoe and press it into the material as hard as you can. Now it’s time to use your pliers to secure the stud. Make sure the prongs go through the material at least a little bit so you know it’s fairly secure. Continue to do this for all studs.
And with those simple steps, you have some awesome studded oxfords! If you have any specific questions on this craft, a craft of your own, or just general comments, feel free to email me at fbreisbl@asu.edu.


